
How to Setup and Optimize Google Merchant Center for Free Listings and Shopping Ads
By: Jonathan Stec
Published: August 23rd, 2021
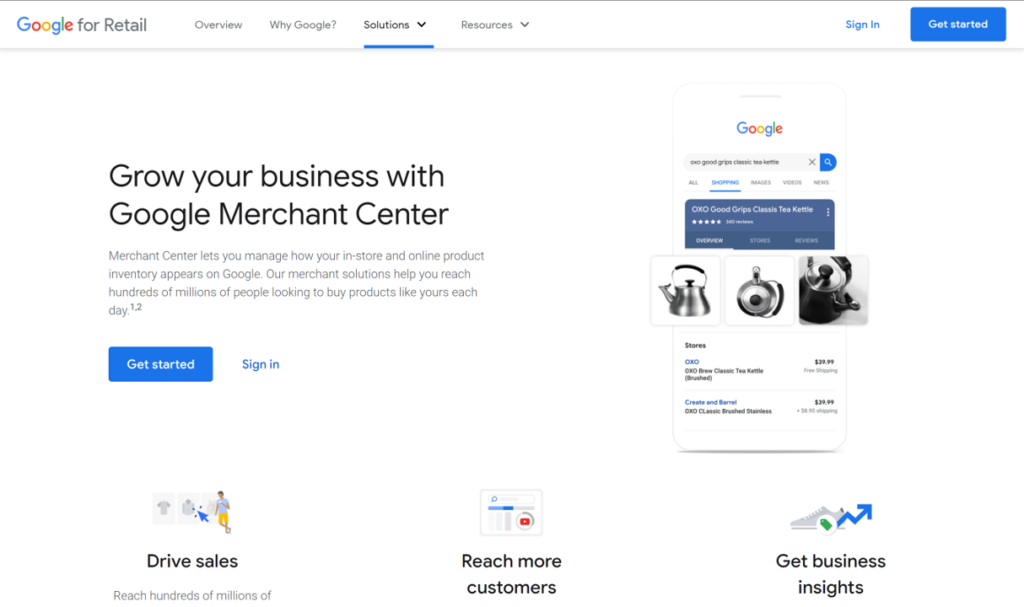
So you have products to sell online and you want to use the largest, most effective platform online to promote them, taking advantage of the 90,000 plus searches per second. Great, that means you need to set up a Google Merchant Center account for your store. However, it can get tricky on how exactly to do that, from the account itself, shipping and taxes, getting the feed and products right, and so on. To help save you a headache or two, I am going to give you step by step help on how to go from 0 to selling on Google. Please note this guide is only for “Free product listings” and “Shopping ads”.
Some things to remember:
- This guide is for brand new accounts, with no Google Merchant Center already set up.
- You will need your shipping and return information.
- If you want to run paid ads (Shipping ads) for your products, you will need to have a Google Ads account set up and ready to link to your Google Merchant Center. If you do not have a Google Ads account yet, you will be given the option to set that up when you get to the “Shopping ads” setup section.
- I recommend you set up Google Analytics to verify your ownership of your site to help make this process much smoother.
- Have your site ready.
- You will need a site that is setup and fully functional with all your products listed and the ability for users to checkout.
- Make sure your site includes business information that allows users to contact you regarding any information they may need. Including but not limited to address, phone number, and contact email.
- Shipping and return information.
- You will need a shipping policy listed on your site. Make sure you have a page on your site (i.e., yoursite.com/shipping) listing very clearly your shipping policy that matches what you will input in Google Merchant Center.
- You will need a return policy listed on your site. Make sure you have a page on your site (i.e., yoursite.com/returns) listing very clearly your return policy that matches what you will input in Google Merchant Center.
- You can also combine these policies on your site on the same page (i.e., yoursite.com/shipping-and-returns) or on an FAQ page.
Step 1 – Create a Google Merchant Center Account
- Navigate to the Google Merchant Center page and click “Get Started”. You will need to have a Google account in order to create the Google Merchant Center account (if you already have a Google account, sign in and use that).
- Enter your business information.
- “Where do you want customers to check out?” Choose “On my website” – this means that people will go to your website after clicking on your product in Google. The other options are more advances and for local inventory.
- Next, tick off any tools like Shopify or PayPal that you use to help with integrations. You can edit this later and add more in the future.
- Choose to sign up for any emails from Google you would like to receive.
- Accept the terms and conditions.
- Scroll down and click “Create Account”.
- You will then receive a message to finish the remaining steps. Click “Continue”.
Step 2 – Setting up your Free listings (products will show across all Google surfaces…everyone should do this unless if you have a reason not to)
- Set up your Tax information (optional, but helps provide users with a better experience once they reach your site, which will lead to more sales) – you will need to know what states and how much tax to collect for that state. Google provides the option to allow them to show how much you will collect.
- Click the blue “Set up tax”.
- If you chose “On my website” – select each state that you will collect tax for and choose either Google-determined sales tax (Google will show the tax amount automatically) or if there is a Custom sales tax (you will need to provide the percentage amount you will collect manually).
- Once done click “Save” and this will take you back to the Free Listings section.
- Set up your Shipping information (optional, but helps provide users with a better experience once they reach your site, which will lead to more sales) – if you charge for shipping, you will need to have your shipping information ready to input. If you do not charge, then make sure to still setup a Shipping service showing that you do not charge so that it can show “Free Shipping” next to your product listings. You will have the ability to set up shipping for every country you deliver to. In addition to rates, you will also be able to provide shipping time estimates.
- Click the blue “Set up shipping”.
- This will take you into the “Shipping services” section.
- Next, click the blue circle with the plus sign.
- This will take you into the “Service coverage” section.
- Give your “Shipping service” a name.
- Select the country which you will deliver to.
- Choose the currency.
- Delivery location will be automatically selected as “At the customer’s address”.
- Click “Next”.
- Now you will be in the “Delivery times” section.
- If you want Google to show an estimate of delivery time, choose “Show custom delivery times based on your carrier and ship from location”. Note, if you have more than one ship-from address and use more than one carrier, you will need to set up a Shipping service for each.
- Input the address you will be shipping from (four fields).
- Choose the “Max handling time” to show the maximum time it will take for you to prepare and ship the order. Choose 0 if it is same day.
- Select an “Order cut-off” time showing the time of day at which you will stop processing orders for shipment that day. If you stop processing orders at 2PM your time, choose 2:00 PM.
- Next, select the carrier that this service applies to. You will need to set up a shipping service for each carrier (start at step 2a for each carrier).
- Choose the carrier service level for this particular shipping service.
- Click “Next”.
- Now you will be in the “Customer shipping cost”
- Choose the shipping cost for this service.
- Free shipping over a certain amount – choose this if you charge shipping below a certain total order amount.
- Free shipping – choose this if you do not charge for shipping.
- Range based – if you charge shipping based on ranges of order values, choose this and set up as many ranges that you need.
- Flat rate – if you charge just one flat amount for any order of any value, choose this and input that value.
- Carrier – choose this if you pass on the shipping cost from the carrier. If you adjust the price up for that carrier, indicate the percentage or flat amount additional you charge.
- Click “Save”.
- If you want Google to show an estimate of delivery time, choose “Show custom delivery times based on your carrier and ship from location”. Note, if you have more than one ship-from address and use more than one carrier, you will need to set up a Shipping service for each.
-
-
- If you want to show shipping rates based on a range of delivery times, choose “Set a range of delivery times”. This is useful if you ship from multiple locations outside of the United States and you use different carriers based on delivery locations.
- Select an “Order cut-off” time showing the time of day at which you will stop processing orders for shipment that day. If you stop processing orders at 2PM your time, choose 2:00 PM.
- Choose your “Handling time” range in days. Input 0 for same day handling and then the max number of days it takes you to handle an order for shipping. You will then need to choose the days you fulfill orders. There are pre-selected days, or you can enter a custom list.
- Choose the “Transit time” day range for an order and again the days they will be shipped by the carrier. You can use one of the pre-selected ranges or input your own custom days.
- You can also select “More transit times” and create a table based on destinations.
- Next, choose how you handle shipping during holidays. You can build this into your ranges above or use the pre-built holidays Google provided (Halloween, Thanksgiving, and Christmas).
- Click “Next”.
- Choose the shipping cost for this service.
- Free shipping over a certain amount – choose this if you charge shipping below a certain total order amount.
- Free shipping – choose this if you do not charge for shipping.
- Range based – if you charge shipping based on ranges of order values, choose this and set up as many ranges that you need.
- Flat rate – if you charge just one flat amount for any order of any value, choose this and input that value.
- Carrier – choose this if you pass on the shipping cost from the carrier. If you adjust the price up for that carrier, indicate the percentage or flat amount additional you charge.
- Click “Save”.
- If you want to show shipping rates based on a range of delivery times, choose “Set a range of delivery times”. This is useful if you ship from multiple locations outside of the United States and you use different carriers based on delivery locations.
-
- Set up your return policies – after setting up your shipping services, I recommend you then set up your “Return policies” so you can clearly display to users what your return policy is.
- Click the blue “Set up shipping”.
- In the shipping section, click on “Return policies”.
- Click the “Add policy” button.
- Choose the country in which this return policy applies to, then click “Next”. You will need to set up a return policy for each country.
- Provide the URL that contains your return policy (remember, you need to have a return policy listed on your site to be approved for Google shopping listings).
- Choose if you accept returns from the country you chose, then click “Next”.
- If you do not accept returns from this country, then click “Save”.
- If you do accept returns, choose how you accept returns (you may choose as many below as you allow).
- In store
- At a kiosk
- By mail
- If you also chose “By mail”, then provide the information on how users will get the return label.
- Click “Next”, and input your return window, then click “Next”.
- Choose if you allow returns from New, and or Used products, then click “Next”.
- Choose if you do or do not charge a restocking fee and for how much.
- Next, select the cost customers must pay for return shipping.
- Click “Next”, review and if all looks good, click “Done”.
- Click the blue “Set up shipping”.
- Claim your website – you will need to input your website and claim it using one of the claim methods Google provides.
- Click the blue “Website”.
- Input your URL, then click “Continue”.
- If you are already setup in Google Analytics, Google Tag Manager, or use Google Sites, this will be done automatically. Otherwise, you will have to use one of the methods provided.
- HTML Tag – choose this if you can add HTML code to your site. Copy the code, follow the instructions to add it, then click verify.
- Upload an HTML file – choose this if you can add new files to the server behind the site you want to verify.
- Connect to Google Tag Manager or Google Analytics – if you are an admin in Google Tag Manager or Google Analytics, choose this. NOTE: this may not work if you use a third-party platform like Shopify. Instead use one of the other methods above.
- Click the blue “Website”.
- Almost done! Now to add your products to Google Merchant Center. You can choose to either add one product at a time (only recommended if you have a handful of products) or using a feed upload. If you use a service like Shopify, there are apps that will automatically connect your store to Google Merchant Center. Instructions for this are beyond the scope of this article and we may cover that in the future. Probably the best way outside of linking to your third-party service like Shopify is to use Google Sheets. Make sure you have all your product information ready, and at the least the basic info. You can find the product information needed here: https://support.google.com/merchants/answer/7052112?hl=en
-
-
-
- In the “Free listings setup” click on the blue “Add product data” – if you plan to set up the product information via a feed upload in Google Merchant center, click “See all methods” under “Upload multiple products”.
- Choose the country and language for this feed. “Free listings” will already be selected. Click “Continue”.
- Enter a name for the feed. Then select your upload method.
- Google Sheets – with this option you will create a Google sheet that will hold all your product information and you can schedule the submission frequency or choose to upload it any time you make an edit. This option is good if you don’t have to update product information often, including stock levels.
- If you choose this, once you click “Continue”, Google will ask you to sign in and choose the Google Sheet that contains your feed.
- Scheduled fetch – choose this option if you will create a feed that lives on your site that Google will pull from and assign a frequency for when Google should upload.
- Upload – this is as manual as it gets. Choose this if you want to create the product feed in a file that will live on your computer and you will upload to Google Merchant Center yourself via SFTP, FTP, Google Cloud Storage, or manually.
- Content API – this is an advanced setting and used for custom applications using the Content API for Shopping.
- Google Sheets – with this option you will create a Google sheet that will hold all your product information and you can schedule the submission frequency or choose to upload it any time you make an edit. This option is good if you don’t have to update product information often, including stock levels.
- In the “Free listings setup” click on the blue “Add product data” – if you plan to set up the product information via a feed upload in Google Merchant center, click “See all methods” under “Upload multiple products”.
-
-
Once you have done all the above, you are ready to go with your Free Listings!
Step 3 – Set up Shopping ads (do this if you want to pay to advertise your products)
- To do this, go to your main Google Merchant Center page, then click “Growth” on the left-hand side, then under “Growth”, click “Manage programs”. Look for “Shopping ads” (should be top center) and click the blue “Get started”.
- This set up is similar to the free listings above and you can apply many of the settings already set up from the Free Listings section. However, you will need two additional steps.
- Link to a Google Ads account
- In the “Shopping ads setup” section, look for “Google Ads account” and click the blue “Link your account”.
- Click the blue circle with a plus sign and choose your Google Ads account number that you want to link to, or create a new Google Ads account.
- Choose if your site contains primarily adult-oriented content as defined by Google.
- Once both of these are done, tick the “I have read all of the Shopping ads policies and my account complies with these policies”, then click “Save”.
- Link to a Google Ads account
- This set up is similar to the free listings above and you can apply many of the settings already set up from the Free Listings section. However, you will need two additional steps.
That’s it! You are now set up with Free listings and Shopping ads on Google! Make sure to set up and properly manage your shopping campaigns in Google Ads and keep your product data up to date.


Leave A Comment
You must be logged in to post a comment.